
An Nginx reverse proxy accepts requests for your domain and sends them to an application running on another local port or server. It lets you publish self-hosted services securely over the standard HTTPS port 443 without exposing ports such as 3000, 8080, or 5000 directly to the internet.
A common secure setup works like this: point a domain to your server, configure Nginx to proxy requests to the application, and use Certbot to install a free Let’s Encrypt certificate. Your application can keep listening only on 127.0.0.1, while Nginx handles public traffic and TLS encryption.
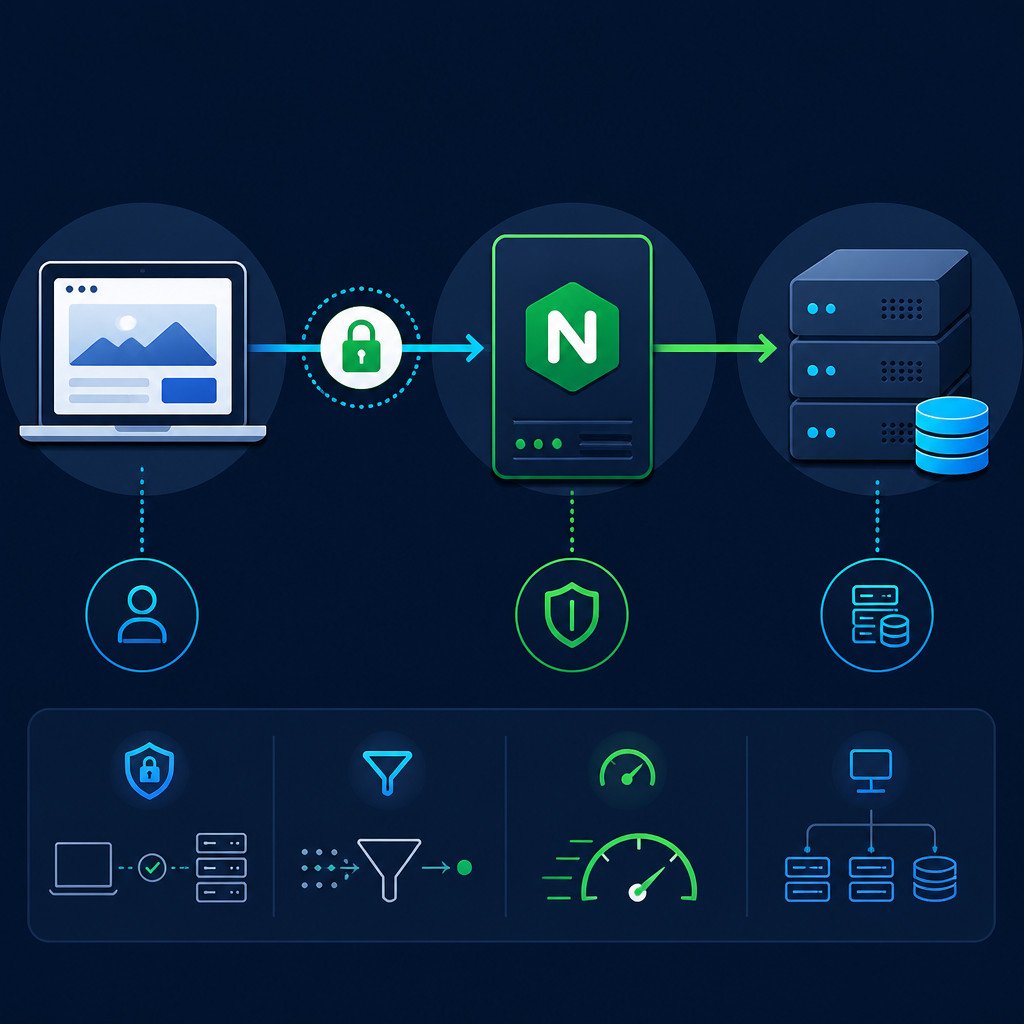
Quick Nginx reverse proxy setup with Let’s Encrypt
Create an Nginx server block for your domain, then use proxy_pass to forward requests to the application’s local port. After testing the configuration, run Certbot’s Nginx installer. Before you request the certificate, make sure the domain’s DNS A or AAAA record points to the server and that inbound ports 80 and 443 are open.
What you need before you start
- A Linux server with Nginx installed. The commands below use Ubuntu or Debian syntax.
- A domain or subdomain, such as
app.example.com. - A DNS A record pointing the domain to your server’s public IPv4 address. Add an AAAA record only if IPv6 is configured correctly.
- A web application listening locally, for example on
127.0.0.1:3000. - Firewall and hosting-provider rules allowing TCP ports 80 and 443.
- SSH access through an account that can run
sudo.
Before bringing Nginx into the setup, confirm that the application responds locally:
curl -I http://127.0.0.1:3000If that command fails, fix the application first. A reverse proxy can’t forward traffic to a service that isn’t running or is listening on the wrong address or port.
1. Install Nginx and Certbot
On Ubuntu or Debian, update the package information and install Nginx along with Certbot’s Nginx plugin:
sudo apt update
sudo apt install nginx certbot python3-certbot-nginx
If UFW is active, allow Nginx’s full HTTP and HTTPS profile:
sudo ufw allow 'Nginx Full'
sudo ufw status
Check the firewall provided by your VPS or cloud host as well. Opening a port in the local firewall won’t open the same port in a provider-level firewall or security group.
2. Create the Nginx reverse proxy configuration
Create a site configuration for the application. Replace app.example.com with your actual domain, and change port 3000 to the port your app uses.
sudo nano /etc/nginx/sites-available/app.example.comStart with this HTTP configuration:
server {
    listen 80;
    listen [::]:80;
    server_name app.example.com;

    location / {
        proxy_pass http://127.0.0.1:3000;
        proxy_http_version 1.1;

        proxy_set_header Host $host;
        proxy_set_header X-Real-IP $remote_addr;
        proxy_set_header X-Forwarded-For $proxy_add_x_forwarded_for;
        proxy_set_header X-Forwarded-Proto $scheme;

        proxy_set_header Upgrade $http_upgrade;
        proxy_set_header Connection "upgrade";
    }
}
The forwarding headers retain the original hostname, visitor IP chain, and protocol. Many frameworks, login systems, logging tools, redirects, and applications that create absolute URLs depend on this information. The Upgrade and Connection headers add WebSocket support, which many dashboards and real-time applications need.
3. Enable and test the site
Create a symbolic link to enable the configuration. Test Nginx before you reload it:
sudo ln -s /etc/nginx/sites-available/app.example.com /etc/nginx/sites-enabled/
sudo nginx -t
sudo systemctl reload nginx
The test should report that the configuration syntax is OK and that the test was successful. If it reports an error, don’t reload Nginx until you’ve corrected the problem.
Now visit http://app.example.com. Once DNS has propagated and port 80 is reachable, your application should appear through Nginx.
4. Add a Let’s Encrypt SSL certificate
Run Certbot with the same domain used in the Nginx configuration:
sudo certbot --nginx -d app.example.comCertbot checks that the domain reaches this server over HTTP, obtains the certificate, and can update Nginx automatically to redirect HTTP requests to HTTPS. Choose the redirect option unless you have a specific reason to leave HTTP available.
When Certbot finishes, open:
https://app.example.comThe browser should display a valid certificate, and the application should continue loading normally.
5. Check certificate renewal
Let’s Encrypt certificates remain valid for 90 days. Certbot usually installs a systemd timer that handles renewal automatically. You can test the process without changing the live certificate:
sudo certbot renew --dry-runTo check the timer itself, run:
systemctl status certbot.timerA successful dry run is the clearest confirmation that future renewals should work.
Common Nginx reverse proxy problems
502 Bad Gateway
A 502 Bad Gateway response usually indicates that Nginx can’t reach the upstream application. Make sure the service is running, check its port, and verify the address configured in proxy_pass.
ss -ltnp | grep 3000
curl -I http://127.0.0.1:3000
sudo tail -n 50 /var/log/nginx/error.log
When the application runs locally, use 127.0.0.1. Docker setups need a little more care because the address must be reachable from Nginx. For example, Nginx running on the host can proxy to a published localhost port. If Nginx runs inside Docker, it should usually connect through the container service name and internal port.
Certbot can’t validate the domain
Check the domain’s DNS result:
dig +short app.example.comIt must return your server’s public IP address. Confirm that port 80 is open, that another server block isn’t intercepting the domain, and that any CDN proxy allows the HTTP challenge. An incorrect AAAA record can also cause trouble because clients and validation services may attempt to connect over IPv6 and fail.
Redirect loops or an application that thinks it uses HTTP
Check that the proxy configuration includes X-Forwarded-Proto $scheme. Some applications also need a trusted-proxy setting. Look in the application’s documentation for options commonly called trusted proxies, proxy mode, or behind reverse proxy.
Security practices for a reverse proxy
- Bind private applications to
127.0.0.1if they don’t require direct network access. - Keep Nginx, the operating system, and your application updated.
- Give separate services their own server blocks and subdomains.
- When troubleshooting, review the Nginx access and error logs in
/var/log/nginx/. - Back up configuration files before making major changes.
- Don’t publish admin interfaces unless they’re protected by strong authentication and access controls.
FAQ
Do I need a reverse proxy for a self-hosted application?
Not in every case, but it’s strongly recommended if you want to use a domain, HTTPS, standard web ports, or multiple applications on one server. Nginx keeps application ports private and handles TLS in one place.
Can Nginx proxy to an application on another server?
Yes. In proxy_pass, replace 127.0.0.1:3000 with the upstream server’s private IP address and port. Protect that internal connection with firewall rules and, where appropriate, TLS.
Why does an Nginx reverse proxy need proxy headers?
Proxy headers tell the application which host the visitor requested, provide visitor IP information, and indicate whether the public request used HTTPS. Without those headers, applications may record the wrong IP address, create incorrect redirects, or generate HTTP links.
Will Let’s Encrypt renew automatically?
Usually, yes. Certbot’s timer must remain active, and the domain must still be available for validation. After completing the setup, run sudo certbot renew --dry-run to confirm that renewal works.
