
The WordPress message “The link you followed has expired” usually appears when an uploaded theme or plugin exceeds the server’s PHP limits. It can also mean that a temporary WordPress security token has expired. Start by refreshing the admin page, then try the action again. If the message appears during a ZIP upload, check the site’s maximum upload size and raise the relevant PHP limits through your hosting panel or server configuration.
Quick answer
- Refresh the WordPress admin page and repeat the action.
- Check that the theme or plugin ZIP file doesn’t exceed the permitted upload size.
- Raise
upload_max_filesize,post_max_size,memory_limit, andmax_execution_timeif needed. - Clear page caches and make sure logged-in administration pages aren’t cached.
- If local configuration files are ignored, ask your hosting provider to change the limits.
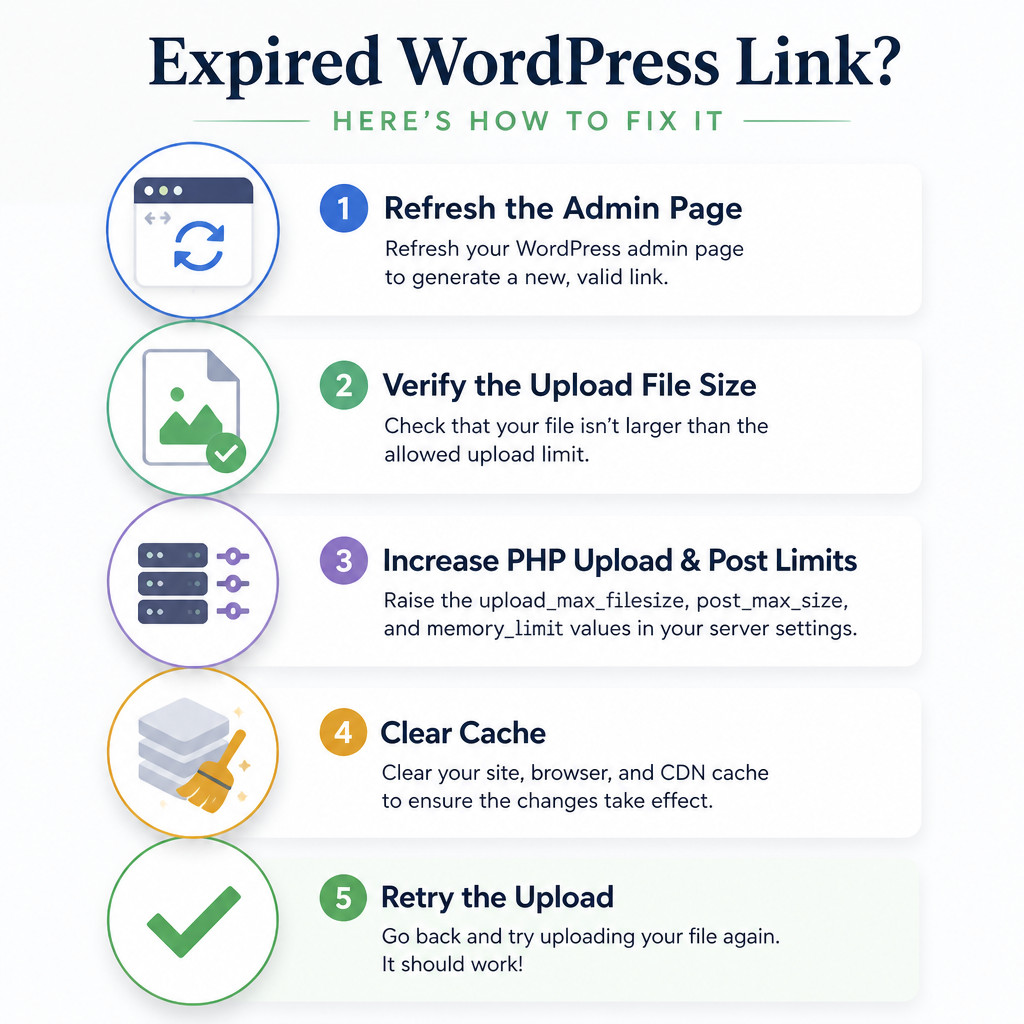
Back up the site before changing any configuration files. When possible, make the changes through your hosting control panel. That approach is less likely to trigger a server error.
Why WordPress shows “The link you followed has expired”
WordPress protects administrative actions with time-limited security tokens called nonces. If a page has been open for too long, it may contain an expired nonce. WordPress can also show the same vague message when a request is rejected before a large theme or plugin upload reaches the application.
Common causes include:
- The ZIP file is larger than the
upload_max_filesizevalue. - The full request exceeds
post_max_size. - PHP runs out of memory or execution time while processing the archive.
- An admin page was left open too long before the form was submitted.
- A cache, proxy, or security layer supplied an outdated form.
- The hosting provider blocks per-directory PHP configuration changes.
1. Refresh the page and sign in again
If the error appeared after you edited a post, changed settings, or submitted a form, open a fresh WordPress admin page and repeat the action. If a refresh doesn’t work, sign out and back in.
Doing this generates a new security token. It’s the right fix when the page sat open for a long time or was restored from an old browser tab. Don’t keep submitting the original page, because its token will still be invalid.
2. Check the current upload limit
In WordPress, go to Media > Add New Media File. The uploader normally displays the maximum accepted file size nearby. You can also visit Tools > Site Health > Info > Server to review the PHP memory limit, maximum upload file size, maximum post size, and time limit.
Compare that upload limit with the size of the theme or plugin ZIP file. In general, the smallest applicable setting determines the effective limit. For instance, raising upload_max_filesize to 128 MB won’t help if post_max_size is still set to 8 MB.
3. Raise PHP limits in the hosting panel
Many hosting companies provide a PHP options editor in an area named PHP Settings, MultiPHP INI Editor, or PHP Configuration. Select the correct domain, then enter values similar to the following:
upload_max_filesize = 64M
post_max_size = 80M
memory_limit = 256M
max_execution_time = 300
max_input_time = 300
The post_max_size value should be higher than upload_max_filesize. Set only as much capacity as the site needs. A typical plugin upload rarely calls for extremely high limits. Save your changes, give the hosting platform time to apply them, and check Site Health again.
4. Edit php.ini or .user.ini
If you manage the server, or if your host allows local PHP configuration, edit the active php.ini file. On shared hosting, you can instead create or update .user.ini in the WordPress root directory:
upload_max_filesize = 64M
post_max_size = 80M
memory_limit = 256M
max_execution_time = 300
max_input_time = 300
PHP may need several minutes to read the updated .user.ini file. On a self-managed server that uses PHP-FPM, you may have to reload the PHP-FPM service after editing its main configuration. Check the values in WordPress Site Health rather than assuming the file was accepted.
5. Use .htaccess only on supported servers
If the site runs on Apache with PHP loaded as an Apache module, these directives may work in the WordPress .htaccess file:
php_value upload_max_filesize 64M
php_value post_max_size 80M
php_value memory_limit 256M
php_value max_execution_time 300
php_value max_input_time 300
This method won’t work with many PHP-FPM configurations, and it doesn’t apply to Nginx. If the site immediately displays a 500 Internal Server Error, remove the lines. Use the hosting panel, .user.ini, or the provider’s support channel instead.
6. Check the web server request limit
PHP isn’t always the only layer restricting an upload. Nginx can reject a request based on its client_max_body_size setting. If you administer the server, add a suitable value to the relevant http, server, or location block:
client_max_body_size 80M;Afterward, test the Nginx configuration and reload the service. Customers on managed hosting should ask their provider to inspect the web server, proxy, and PHP request limits instead of editing server files they don’t control.
7. Clear caches and check for a stale admin form
Purge the WordPress page cache, host-level cache, reverse proxy, and CDN cache. Administration pages and any pages containing logged-in forms shouldn’t be publicly cached. If the problem continues, temporarily disable a caching or security plugin, but only when you can do so safely.
Next, open the admin screen you need in a new tab and try again. If disabling a plugin resolves the issue, review its cache exclusions, firewall events, or form-token settings before turning it back on.
Other ways to install a large theme or plugin
If the package is legitimate but browser uploads remain restricted, extract it on your computer. You can then upload the directory through SFTP to wp-content/plugins or wp-content/themes and activate it from the WordPress dashboard.
Don’t overwrite an active plugin or theme without making a backup. For updates, stick with the built-in updater or a documented deployment process so that old and new files don’t become mixed.
Common mistakes to avoid
- Changing only WordPress memory: The
WP_MEMORY_LIMITconstant doesn’t increase the server’s upload or POST size limits. - Editing the wrong PHP configuration: Command-line PHP and the web server may load different configuration files.
- Using oversized values: Unlimited or multi-gigabyte limits raise resource and abuse risks.
- Renaming an invalid archive: A theme or plugin ZIP must have the package structure WordPress expects.
- Leaving admin pages cached: Cached forms can keep serving expired security tokens.
How to confirm the fix
- Open Site Health and verify that the updated upload and post limits appear.
- Reload the relevant WordPress admin page to generate a fresh security token.
- Try uploading the original ZIP file again.
- Check that the plugin or theme installs and activates without an error.
- Restore any security controls you temporarily disabled, then test once more.
Frequently asked questions
What does “The link you followed has expired” mean in WordPress?
It means WordPress couldn’t validate or process the request. The most common reasons are an expired security token on an old admin page or a server upload limit that’s too low for the submitted file.
Can wp-config.php increase the WordPress upload limit?
It can request a higher WordPress memory limit, but it generally can’t override server-enforced upload_max_filesize or post_max_size settings. Those values need to be changed through PHP or the hosting platform.
Why does the error continue after increasing upload_max_filesize?
Another limit may still be lower, such as post_max_size, a web server request limit, PHP memory, or a host-level restriction. Check the effective values in Site Health and ask your host which configuration controls the domain.
Is this error caused by a broken permalink?
Usually, no. Permalink problems are more likely to produce 404 errors. Refreshing permalinks probably won’t fix an expired admin token or an upload request that’s too large.
