Matic, now known as Polygon, is a Layer 2 scaling solution for Ethereum that aims to provide faster and cheaper transactions. It has gained significant traction in the blockchain and cryptocurrency space, particularly for decentralized applications (dApps) and decentralized finance (DeFi) projects.
In this guide, we will explain what Matic is, its benefits, and provide a detailed, step-by-step process on how to add Matic to your MetaMask wallet.
What is Matic (Polygon)?
Matic, rebranded as Polygon, is a protocol and framework for building and connecting Ethereum-compatible blockchain networks. It is designed to address the scalability and usability issues faced by the Ethereum blockchain. Polygon combines the best of Ethereum and sovereign blockchains into a full-fledged multi-chain system, offering a solution that allows developers to create and deploy dApps with ease.
Benefits of Matic (Polygon):
- Polygon provides a scalable infrastructure that can handle a higher number of transactions per second (TPS) compared to Ethereum, reducing network congestion and improving overall performance.
- By utilizing Layer 2 solutions, Polygon significantly reduces transaction fees, making it more cost-effective for users and developers.
- Polygon leverages the security of the Ethereum network while also providing additional security through its Proof-of-Stake (PoS) consensus mechanism.
- Polygon enables seamless communication between different blockchain networks, allowing for the easy exchange of data and assets.
- Polygon offers a range of developer tools and resources, making it easier for developers to build and deploy dApps on the platform.
Now that we have a better understanding of Matic (Polygon) and its benefits, let’s dive into the step-by-step process of adding Matic to your MetaMask wallet.
Steps to Add Matic to MetaMask
Step 1: Install and set up MetaMask
- Visit the MetaMask website (https://metamask.io/) and download the browser extension for your preferred browser (Chrome, Firefox, or Brave).
- Once installed, click on the MetaMask icon in your browser’s toolbar and follow the on-screen instructions to create a new wallet or import an existing one using your seed phrase.
- After setting up your wallet, you will be directed to the main MetaMask interface, where you can view your Ethereum address and manage your assets.
Step 2: Add the Matic Mainnet to MetaMask

To interact with the Matic network, you need to add the Matic Mainnet to your MetaMask wallet. Follow these steps to do so:
- Click on the MetaMask icon in your browser’s toolbar to open the extension.
- At the top of the MetaMask interface, you will see the current network you are connected to (usually “Ethereum Mainnet”). Click on this to open a dropdown menu.
- In the dropdown menu, click on “Custom RPC” to add a new network.
- Enter the following details for the Matic Mainnet:
- Network Name: Matic Mainnet
- New RPC URL: https://rpc-mainnet.matic.network
- Chain ID: 137
- Currency Symbol (optional): MATIC
- Block Explorer URL (optional): https://explorer.matic.network/
- Click “Save” to add the Matic Mainnet to your MetaMask wallet.
Step 3: Acquire MATIC tokens

To interact with dApps and perform transactions on the Matic network, you will need MATIC tokens. You can acquire MATIC tokens through various methods, such as:
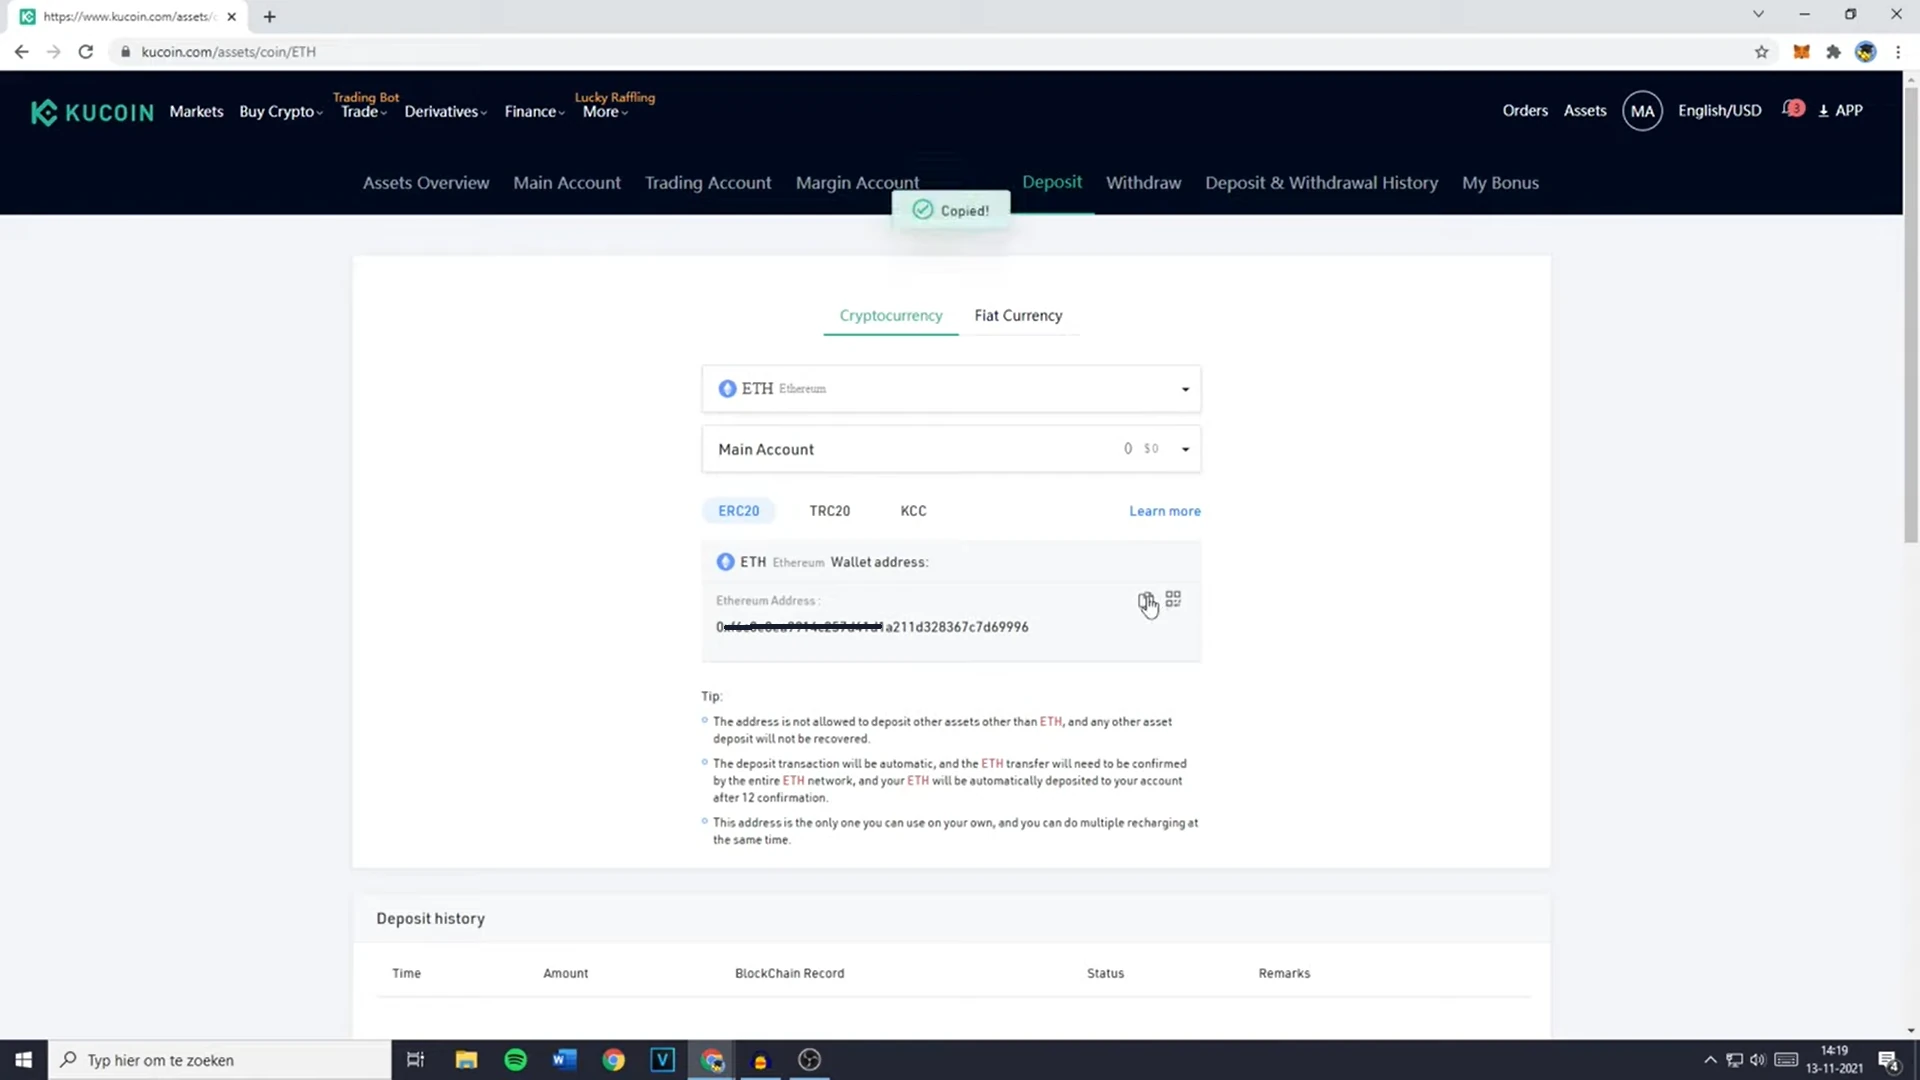
- Purchase on a cryptocurrency exchange: You can buy MATIC tokens on popular exchanges like Binance, Coinbase, or Kraken. After purchase, you can transfer the tokens to your MetaMask wallet by sending them to your Ethereum address.
- Swap tokens using a decentralized exchange (DEX): Platforms like Uniswap or SushiSwap allow you to swap other cryptocurrencies, such as ETH, for MATIC tokens. Connect your MetaMask wallet to the DEX and perform the swap directly within your wallet.
- Participate in liquidity mining or staking programs: Some DeFi platforms offer rewards in MATIC tokens for providing liquidity or staking other tokens. Research available opportunities and participate in those that align with your investment strategy.
Step 4: Add the MATIC token to your MetaMask wallet
After acquiring MATIC tokens, you need to add the token to your MetaMask wallet to view and manage your balance. Follow these steps:
- Click on the MetaMask icon in your browser’s toolbar to open the extension.
- Ensure that you are connected to the Matic Mainnet (as set up in Step 2).
- Scroll down to the “Assets” section and click on “Add Token.”
- In the “Search” tab, type “MATIC” and select the token from the list.
- Click “Next” and then “Add Tokens” to complete the process.
You should now see your MATIC token balance in your MetaMask wallet.
Step 5: Interact with dApps on the Matic network
With the Matic Mainnet added to your MetaMask wallet and MATIC tokens in your possession, you can now interact with dApps built on the Matic network. To do so, simply connect your MetaMask wallet to the dApp and follow the dApp’s instructions for performing transactions or interacting with its features.
Conclusion:
Adding Matic to your MetaMask wallet is a straightforward process that unlocks the potential of the Matic network and its benefits. By following this comprehensive guide, you can easily set up your MetaMask wallet to interact with the Matic ecosystem and take advantage of its scalability, low transaction fees, and developer-friendly environment.
As the adoption of Layer 2 solutions like Matic (Polygon) continues to grow, it’s essential to stay informed and adapt to the evolving landscape of blockchain and cryptocurrency technology.
