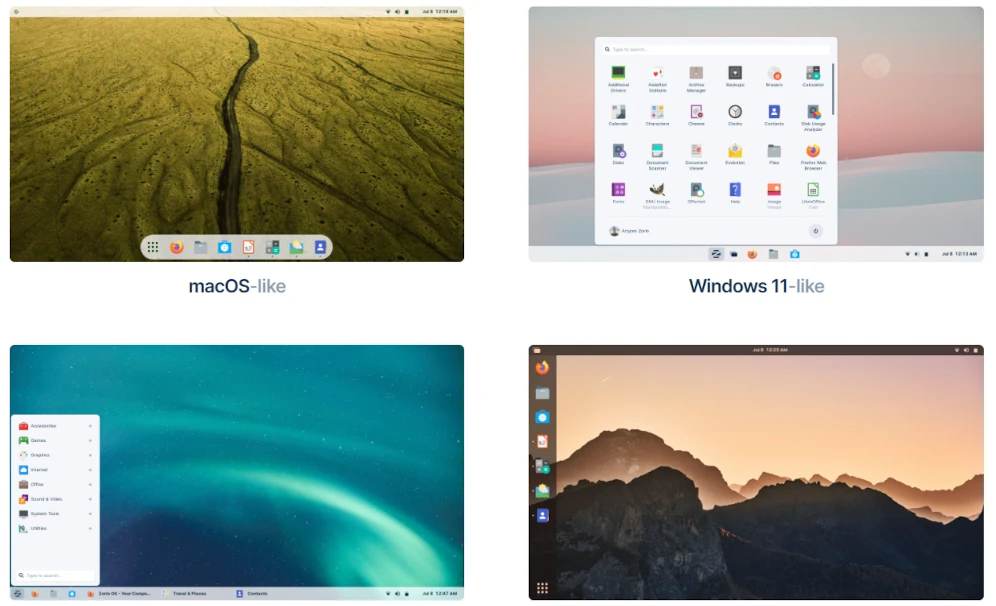
Are you tired of the same old Windows or Mac operating system and looking to try something new? Well, Zorin OS might be just what you need! Zorin OS is a Linux distribution that is based on Ubuntu and is perfect for those who are new to the Linux world or are transitioning from Windows or macOS.
Before fully committing to a new operating system, it’s always a good idea to test it out first. And the great thing is, you can easily do that with Zorin OS in a virtual environment using VirtualBox, just like other Linux distributions.
In this article, I will guide you through the process of installing Zorin OS 16 on VirtualBox. So, let’s dive right in and get started with the installation!
Installing Zorin OS 16 in VirtualBox
By setting up Zorin OS in VirtualBox, you can explore its features and functionalities without making any permanent changes to your computer. It’s a safe and convenient way to get a taste of the Linux experience.
So, if you’re curious about Zorin OS and want to give it a try, follow along as we guide you through the process of installing Zorin OS in VirtualBox.
Let’s get started and embark on this exciting Linux journey!
Step 1: Download VirtualBox and Zorin Image File
To get started, make sure you have VirtualBox installed on your computer. If you don’t have it yet, head over to the official VirtualBox website and download the latest version. Additionally, you’ll need the Zorin OS ISO file, which you can obtain from the official Zorin OS website.
- VirtualBox official website: virtualbox.org
- Zorin Official website : zorinos.com/download
Step 2: Create New Virtual Machine in VirtualBox
Launch the VirtualBox application and then click on the “New” button to create a new virtual machine. It will open a VM creation dialog, which looks like in the following screenshot,

Configure Virtual Machine Settings as follows,
- Give your virtual machine a name, such as “Zorin Core”.
- Set Virtual Machine Folder to store setup files
- Select “Linux” as the operating system type.
- Choose “Other Linux (64-bit)” as the version.
- Browse and select the downloaded ISO file under the “ISO Image” option
After configuring all options, click on “Next”

- Allocate a suitable amount of memory (RAM) for the virtual machine. It’s recommended to assign at least 2GB of RAM. Here I have set 4GB (4048 MB)
- Set the number of processor cores to assign.

- Create a virtual hard disk for the virtual machine, considering your storage requirements.
Now click on “Next” It will show you the VM configuration summary on the next page. Click on “Finish”. Your Virtual Machine is created successfully.
It will become available on the VirtualBox home screen. You can view, start, delete, or configure created virtual machine from there.
Step 3: Install Zorin OS
Start the Virtual Machine, click on the “Start” button to launch the virtual machine.
This action will initiate the Zorin OS installation wizard. Choose the first highlighted option “Try or Install Zorin OS” as shown in the following screenshot.

On the next screen, you will be asked to choose display language and to opt to try Zorin or install Zorin OS. Choose the desired language and then click on the “Install Zorin OS” option.

After initiating an installation, you will be asked to choose an installation type. Select the “Erase disk and install zorin os” option as we are setting up an empty virtual disk. Then click on the “Install Now” option to begin.
It will create and format a virtual disk for installation at configured location folder.

Follow the on-screen instructions to configure the keyboard layout, user account, and other settings. Set up usernames and passwords. refer to the following screenshot. remember the credentials you are creating here, they will be needed later.

Wait for the installation process to complete. The setup will copy, extract, and set up system files.

Once the installation finishes, restart the virtual machine.

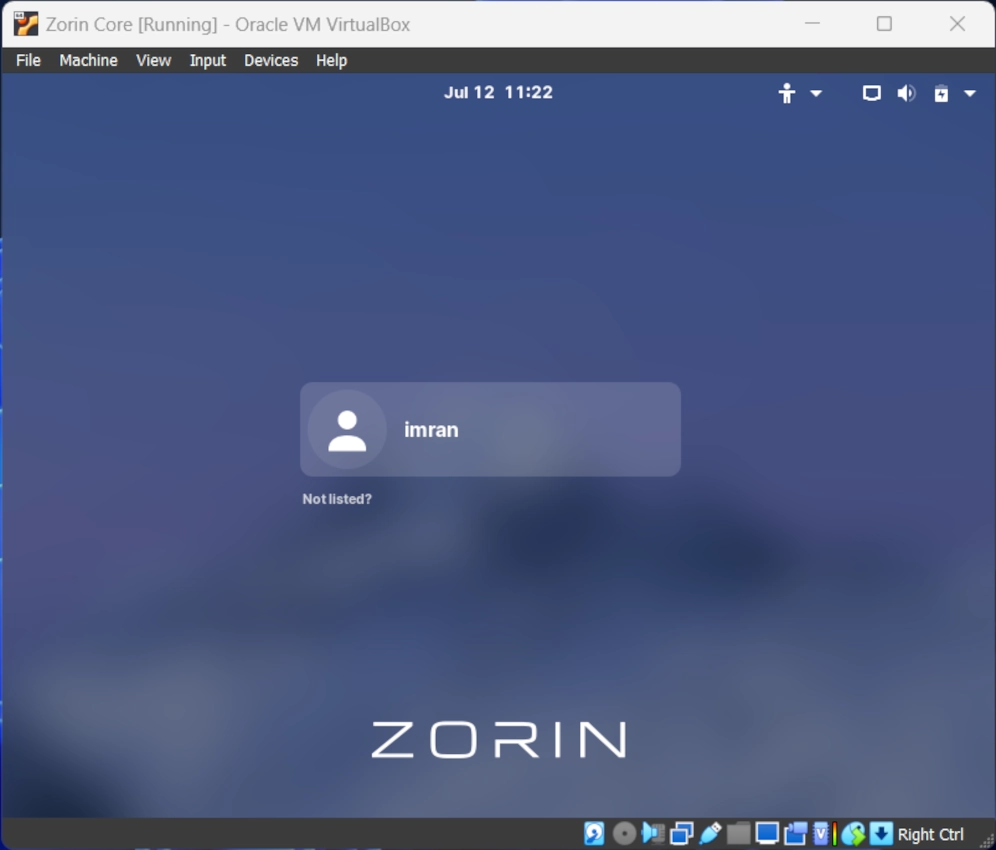
After the virtual machine restarts, you’ll be greeted with the Zorin OS login screen.
Enter your credentials and start exploring Zorin OS within VirtualBox.

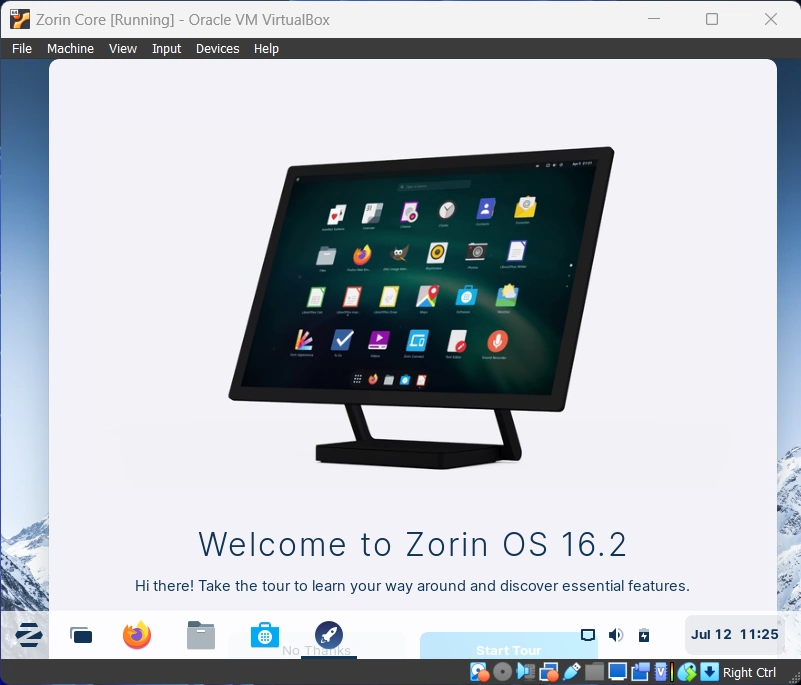
After successfully signing in, you will see the welcome message. Now you can do explore, browse, whatever you want to do in the operating system.

Note : To change desktop resolution Go to Desktop Setting->Select Desired Resolution (1360×768 recommended)
By following this step-by-step guide, you can easily install Zorin OS in VirtualBox and enjoy its user-friendly features without affecting your primary operating system. VirtualBox provides a safe and convenient environment to explore Zorin OS, making it an ideal choice for those transitioning from Windows or macOS. Happy exploring!

