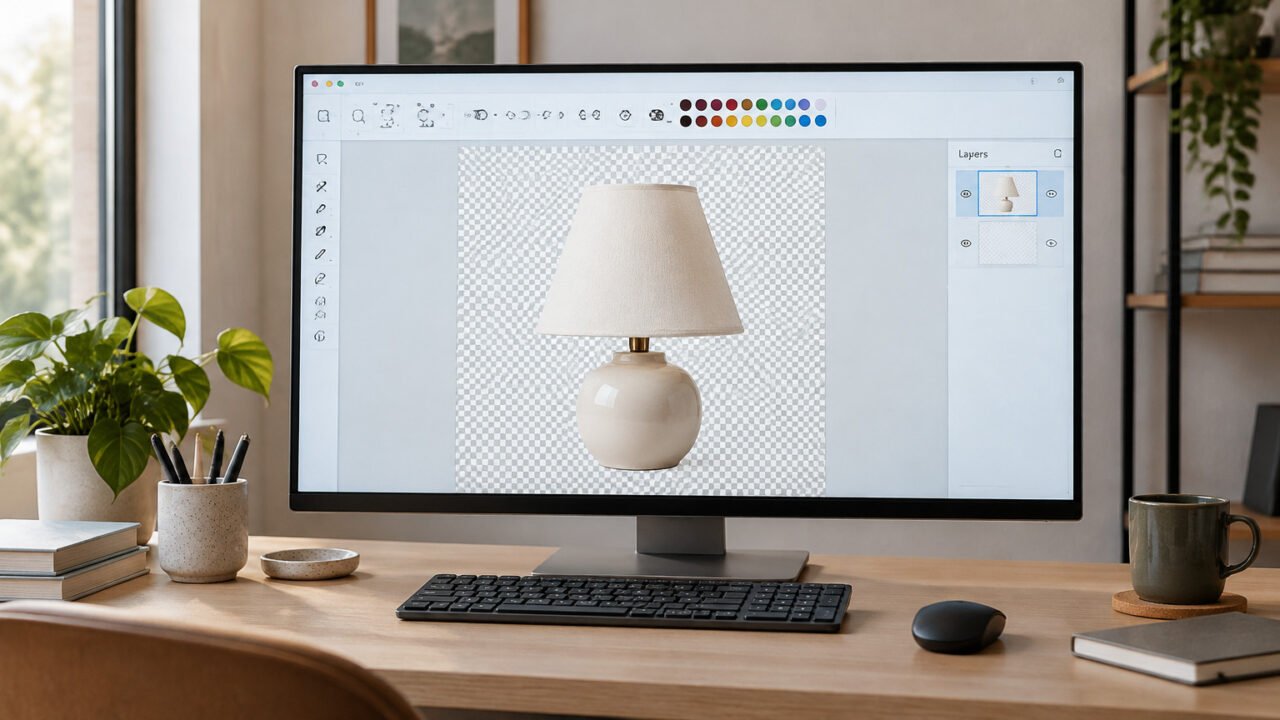
A reusable annotation template makes screenshots faster to prepare and easier to read. In Microsoft Paint, the useful pattern is simple: keep the captured screen on a base layer, place labels and callouts on separate layers, preserve an editable working copy, and export a flattened PNG only when the image is ready to share.
This works well for bug reports, internal instructions, support tickets, and how-to articles. It avoids a common problem with one-off markup: once an arrow covers part of a screenshot or a text box is baked into the image, correcting it can mean starting again.
Start with a clean capture
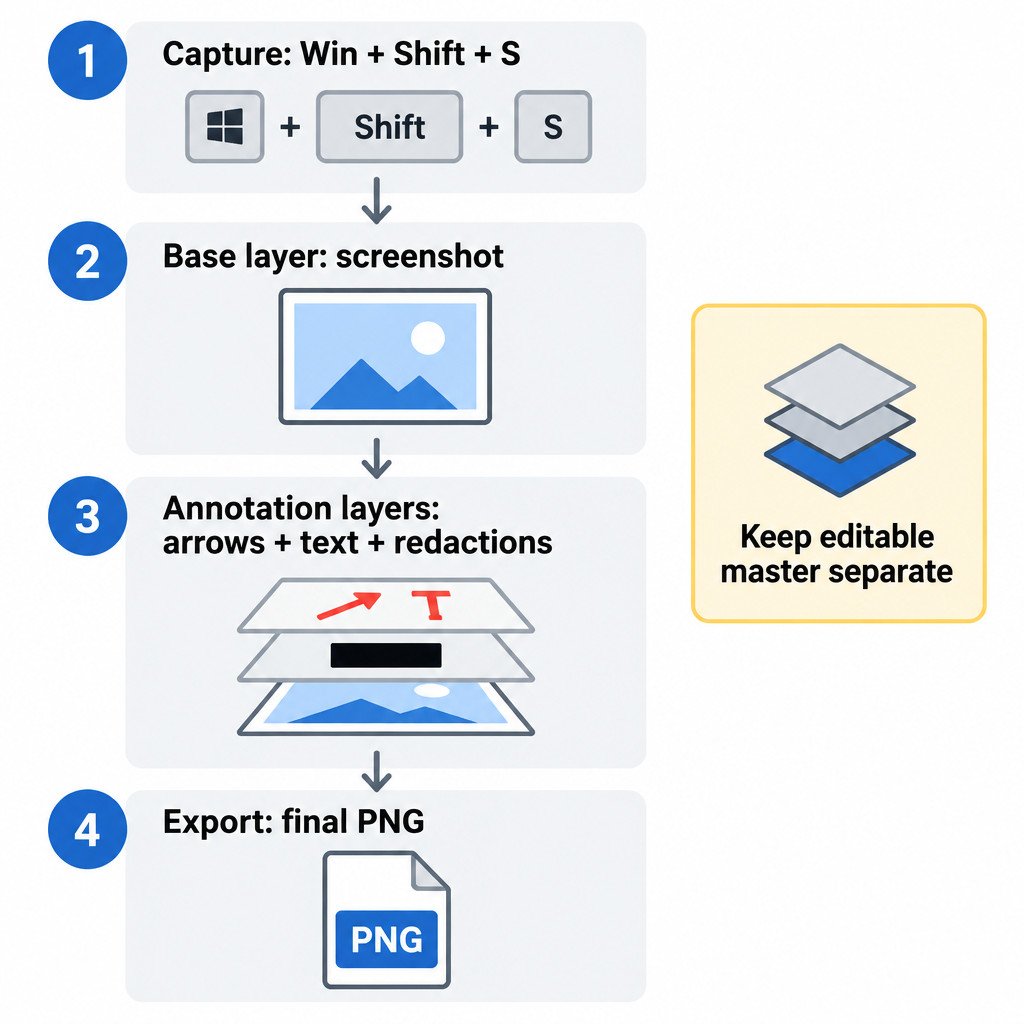
Press Windows+Shift+S to open Snipping Tool’s capture controls, then select the area that shows the task without unnecessary desktop clutter. After capturing, open the snip and use Edit > Edit with Paint if that option appears. Microsoft documents both the shortcut and the Paint handoff in its Snipping Tool guide.
Capture at the size a reader needs to see. Enlarging a small capture later does not make tiny interface text clearer. Before opening Paint, close notifications, browser tabs with private information, and unrelated windows where practical.
Design one small, repeatable visual system
Your template does not need a decorative frame. It needs consistent choices that help someone scan the image: a short title area when context is needed, one highlight color, one arrow or outline style, and a readable text treatment. Keep callouts away from the control they explain whenever possible.
- Title: use a brief action, such as “Choose Advanced settings,” rather than a sentence-length heading.
- Color palette: choose one attention color for the active step and a neutral color for supporting boxes or arrows.
- Callouts: use either numbered circles or short labels consistently; mixing both can make a simple image feel busy.
- Spacing: leave enough empty space around labels so they do not obscure settings, values, or buttons.
Paint provides basic image-editing tools such as text, shapes, cropping, resizing, and common image formats; current Windows 11 versions may also provide Layers. These are enough for a focused screenshot workflow, not a substitute for a full design application. Microsoft’s Paint overview describes these core capabilities.
Build the template with separate layers
First, look for the Layers control in Paint. Feature availability can differ by Paint version, so update the app and confirm the control is present before making layers central to your process. Where available, layers can be added, removed, reordered, hidden, duplicated, and merged. Microsoft’s layers announcement explains these behaviors.
- Create a base layer. Paste or open the screenshot and leave it unchanged. Crop first if needed, since cropping after annotation can cut off callouts.
- Add an annotation layer. Put arrows, rectangles, circles, and highlight marks here. A thick outline often communicates an area of interest more clearly than a translucent fill over text.
- Add a text layer. Place step numbers or short instructions on a separate layer. This makes wording corrections much less destructive.
- Add an optional privacy layer. Cover names, email addresses, account numbers, document contents, or other sensitive details with opaque shapes. Keeping these covers separate lets you verify what was intentionally hidden.
- Order layers deliberately. Keep the screenshot at the bottom, privacy covers above it, and arrows and text above the covers. Hide a layer temporarily to check whether it is masking something important.
For example, an illustrative support screenshot might have three layers: the Settings-page capture, a red rectangle around the relevant option, and a label reading “1. Turn this on.” If the instruction changes to “1. Turn this off,” edit or replace the text layer rather than rebuilding the entire image.
Keep a master without confusing it with the final image
Use two kinds of files. The master is the version you may revise; the export is the version you send. Never overwrite the master with a final delivery image.
| File | Purpose | Example name |
|---|---|---|
| Template master | Reusable title area, color choices, and callout styles | screenshot-template.paint |
| Working copy | One specific annotated capture, still editable | vpn-settings-working.paint |
| Final export | Flattened image to attach or publish | vpn-settings-step-1.png |
Some Paint versions offer File > Save as project for an editable .paint file. Microsoft describes project files as a rolling Windows 11 experience, so do not assume the option is installed everywhere. If it is unavailable, duplicate your template before each job and retain the duplicate separately. A PNG fallback preserves the visible template, but it does not preserve independently editable layers after export. Microsoft’s project-file announcement notes the Save as project route and its rollout context.
Export the shareable version as PNG
When the markup is final, save or export a PNG for sharing. PNG is generally the safer default for interface screenshots because it preserves sharp UI edges, small text, and solid-color annotations without the compression artifacts that can appear in JPEG files. JPEG can be reasonable for photographic images where a smaller file matters more than perfectly crisp lines, but it is usually a poor fit for settings pages and instructional callouts.
Use a descriptive filename that identifies the task and step. Avoid filenames containing customer names, ticket numbers, or other data that should not travel with the image.
Check the exported image, not just the Paint canvas
A screenshot can look correct in the editor yet fail in the place where it is viewed. Open the exported PNG at normal viewing size before attaching it to a message, ticket, or article.
- Confirm every arrow, number, and label points to the intended control.
- Make sure text is not clipped at the image edge or hidden behind another annotation.
- Check that small labels remain readable without zooming.
- Review the full frame for names, email addresses, account details, private tabs, notifications, and document content.
- Verify that redactions are opaque and cover the complete sensitive value, not only part of it.
- Confirm the attached or uploaded file is the final PNG, not the editable master.
Know where this workflow stops being the right tool
Paint is a practical choice when the job is cropping, simple labels, arrows, shapes, and lightweight layer edits. Background removal and AI features are not required for a reliable annotation template. Choose a more capable editor when you need precise blurring, elaborate multi-image layouts, advanced typography, reusable brand components, or detailed photo retouching.
The key habit is separating editable work from the sent image. Once that is routine, consistent screenshots become a short production task rather than a fresh formatting decision every time.
Sources
Microsoft Support, Snipping Tool screenshot capture; Microsoft, Paint overview; Windows Insider Blog, Paint layers and transparency; Windows Experience Blog, Paint project files.