There are two ways you can create a new database in the Heidi SQL tool. Either by using the user database table explored interface right-click option or by executing the ‘CREATE DATABASE’ SQL command.
In this article, we will see both methods to create database in HeidiSQL application.
Create a database using Right-click option in HeidiSQL

To create a database in HeidiSQL, follow these steps:
- Connect to the MySQL server where you want to create the database.
- In the left pane of the HeidiSQL window, right-click on the “Databases” node and select “New database” from the context menu.
- In the “Create database” dialog, enter a name for the database in the “Database name” field.
- Optionally, you can select a default collation for the database in the “Collation” dropdown.
- Click “OK” to create the database.
Create database using SQL query in HeidiSQL

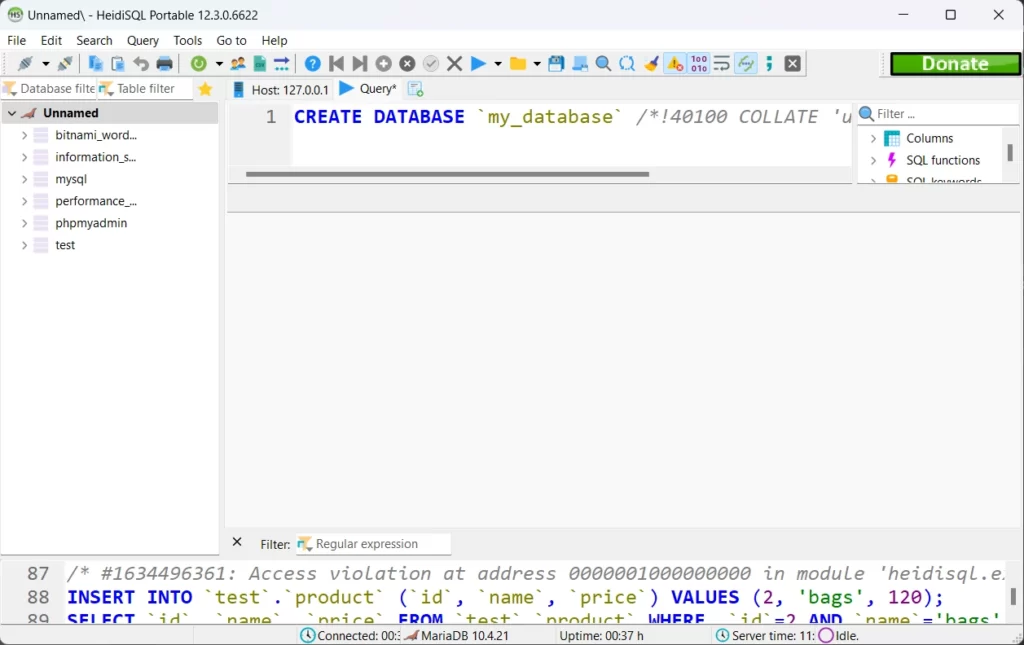
Alternatively, you can use the following SQL command to create a database:
CREATE DATABASE database_name;Replace “database_name” with the name you want to give to the database. For example:
CREATE DATABASE my_database;This would create a database called “my_database”.
Things you can do in HeidiSQL:
- Create a new table: To create a new table in a database, right-click on the database in the left pane and select “Create table” from the context menu. In the “Create table” dialog, enter the name of the table and specify the number of columns you want the table to have. Then, for each column, specify the column name, data type, and other optional properties such as whether the column can contain null values.
- Insert data into a table: To insert data into a table, navigate to the table in the left pane and click on the “Insert” tab in the right pane. Then, enter the values you want to insert into the table in the appropriate fields. When you are finished, click the “Insert” button to insert the data into the table.
- Run a SQL query: To run a SQL query, click the “Query” tab in the right pane and enter the query in the text field. Then, click the “Execute” button to run the query. The results of the query will be displayed in the grid below the text field.
- Export data: To export data from a table or a query to a file, click the “Export” tab in the right pane and select the data you want to export. Then, choose the format you want to export the data to (such as CSV or SQL) and specify the location where you want to save the file. Click the “Export” button to export the data.
- Import data: To import data from a file into a table, click the “Import” tab in the right pane and select the file you want to import. Then, choose the format of the file (such as CSV or SQL) and specify the table where you want to import the data. Click the “Import” button to import the data.


