When it comes to choosing a free and open-source image editing program, GIMP is at the top. A journey with the Linux operating system is incomplete without GIMP.
GIMP 2.10 is a robust, free, and open-source image editing tool, It is the go-to for professionals and hobbyists alike. If you’re using Ubuntu 20.04 or later and want to get your hands on GIMP, you’re in the right place!
In this article, I will guide you through two straightforward methods of GIMP 2.10 installation: the terminal command method and the user interface method.
Method 1: Installing GIMP via Terminal Commands
In this method you have to just execute the following three commands in the terminal to install and launch GIMP:
sudo apt update #gets the latest package update information
sudo apt install gimp #download and installs gimp
gimp #launches gimp GUI application
For a detailed step-by-step explanation of each command along with screenshots keep reading.
Step 1: Freshen Up Your System
Before we jump into the GIMP installation, let’s make sure your system is up-to-date. Open your terminal by pressing Ctrl+Alt+T and punch in the following command:
sudo apt updateStep 2: Let’s Get GIMP!
Now, it’s time to install GIMP. Type the following command into your terminal:
sudo apt install gimp
Step 3: Confirm and Authenticate Your Installation
During the installation, you’ll be asked to enter your password. This is just to confirm that it’s really you doing the installation. After typing your password and hitting Enter, you’ll be asked if you want to continue with the installation. Simply type ‘Y’ and hit Enter to move forward.
Step 4: Sit Back and Relax

Your package manager will now download the necessary files and install GIMP on your Ubuntu system. This might take a few minutes, depending on your internet speed.
Step 5: Launching GIMP

Once the installation is done, you can launch GIMP either by searching for it in the applications menu or by typing gimp into the terminal.
Method 2: Installing GIMP from the User Interface
Step 1: Open Ubuntu Software
Click on the “Show Applications” icon (the grid of dots) at the bottom-left corner of your screen. Type “Ubuntu Software” into the search bar and click on the corresponding icon to open the application.
Step 2: Look for GIMP

In the Ubuntu Software interface, there’s a search bar at the top-right corner. Type “GIMP” into the search bar, and the software center will show you the GIMP application.
Step 3: Install GIMP on Ubuntu

Click on the GIMP application to see more details. On the GIMP page, you’ll find an “Install” button. Click on it to start the installation process.
Step 4: Authenticate and Confirm Your Installation
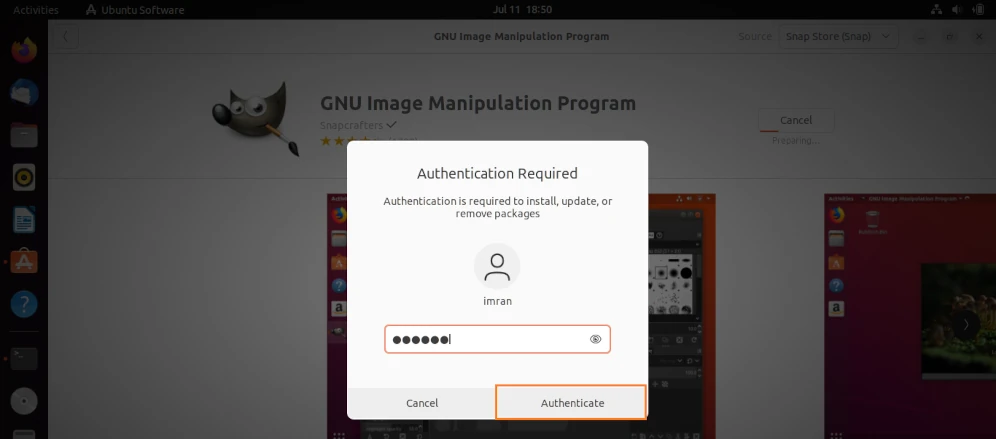
Just like with the terminal installation, you’ll be asked to enter your password to confirm the installation. Type your password and click “Authenticate.” Then, click “Install” to confirm your choice.
Step 5: Wait for the Installation to Finish

The Ubuntu Software will now download and install GIMP on your system. You’ll see a progress bar showing the installation status. Once the installation is done, you’ll see the “Installed” label.
Step 6: Launching GIMP

To launch GIMP, you can either click the “Launch” button on the GIMP page in Ubuntu Software or search for GIMP in the applications menu.
Some Facts & Tips About GIMP
1. GIMP is a cross-platform application. It’s available for Linux, macOS, and Windows. Available to download on the official site: gimp.org/download
2. You can also install GIMP from Snap using:
sudo snap install gimpcommand.
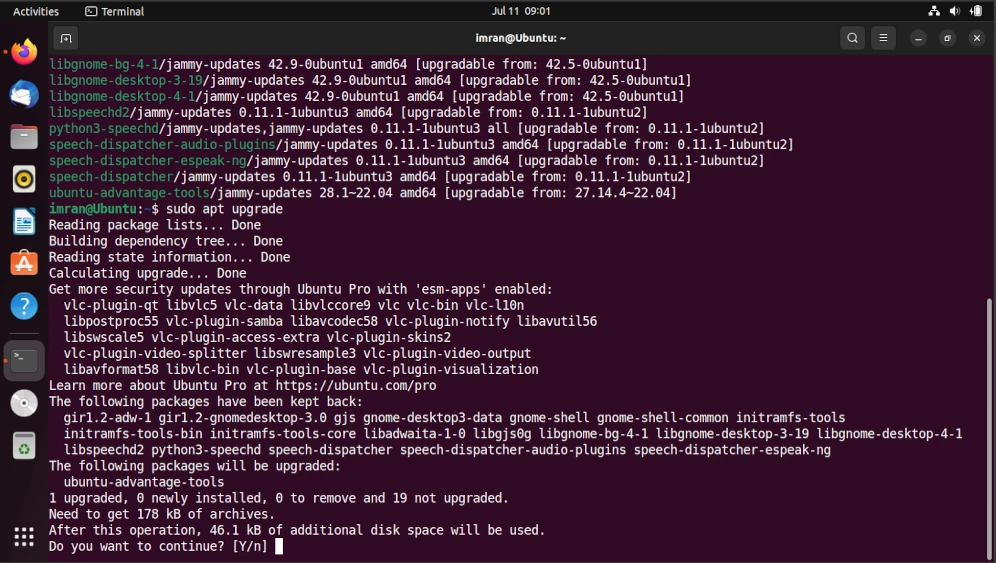
3. You can update GIMP by using :
sudo apt update && sudo apt upgradecommand in the terminal. This will update all your system’s software, including GIMP.
4. If you decide to uninstall GIMP, you can do so by using :
sudo apt-get autoremove gimpcommand in the terminal.
5. While GIMP may not have every single feature that Photoshop offers, it’s a powerful tool that can handle a wide range of image editing tasks. Plus, it’s free and open-source!
Whether you prefer using terminal commands or the user interface, installing GIMP on your Ubuntu 20.04 system is a breeze. With its wide range of image editing features, It is a must-have tool for graphic designers, photographers, and anyone who loves to get creative. So, get ready to explore Its capabilities and let your creativity run wild!
