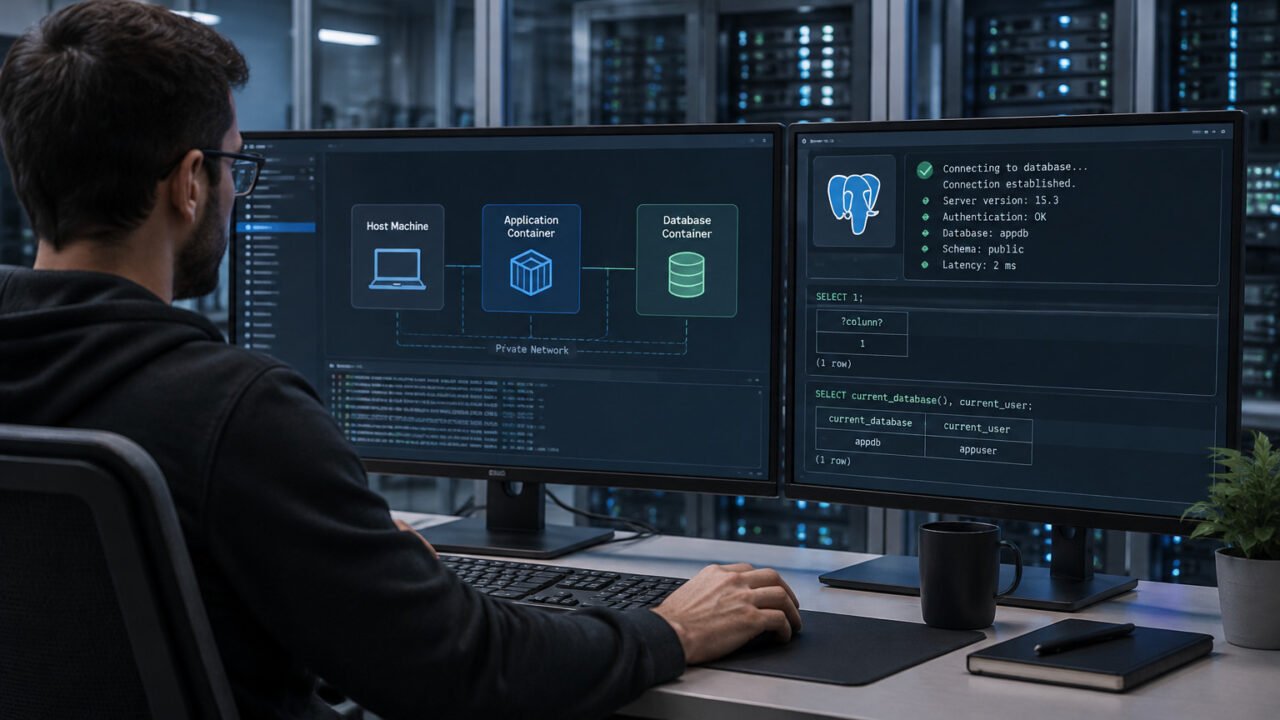
For a small Docker Compose stack, a dependable starting point is to archive each Docker-managed named volume to storage outside Docker, then restore that archive into a new volume and run a real test. Do not treat an image, a rebuilt container, or an untested tar file as proof that the application can be recovered.
This procedure covers named volumes managed by Docker. Volumes are persistent storage that outlive containers, while container filesystems are normally disposable. Bind mounts are different: their data already lives at a host path and need a host-level backup plan. Docker’s volume documentation also provides the underlying temporary-container pattern used to archive and restore volume data. Docker Docs: Volumes
First, identify the data that actually matters
Open your compose.yaml before running commands. Look for service mounts and for the top-level volumes: section. In this simplified example, app_data is the persistent target:
services:
  app:
    image: example/app
    volumes:
      - app_data:/var/lib/example

volumes:
  app_data:
The name in the file is not always the Engine’s actual volume name. Compose commonly prefixes it with its project name, so a volume declared as app_data may appear as myproject_app_data. A top-level volume can also specify name:, or be marked external: true; either setting changes the assumption. Compose documents these naming and lifecycle options. Docker Docs: Compose volumes
List Docker’s actual names, then inspect the candidate before proceeding:
docker volume ls
docker volume inspect myproject_app_data
Replace myproject_app_data throughout this article with the confirmed name. Inspection is a useful pause: it prevents an archive of the wrong volume and shows the volume driver and mount point. Do not depend on the mount point for routine backups; use Docker to mount the volume into a temporary container instead.
Decide whether a file-level copy is safe enough
A tar archive is a filesystem-level copy. If an application is actively changing files, the archive can contain a mixture of old and new state. For ordinary file-based application data, stop the service that writes to the volume before copying. For a database, the safer default is its documented logical dump or backup procedure, often followed by a volume archive for configuration and non-database files.
Do not assume that copying live database files is consistent just because the tar command completes without errors. A successful archive only shows that files were read; it does not show that a database can recover from those files. If downtime is unacceptable, use the application’s supported online backup method rather than improvising around a live filesystem copy.
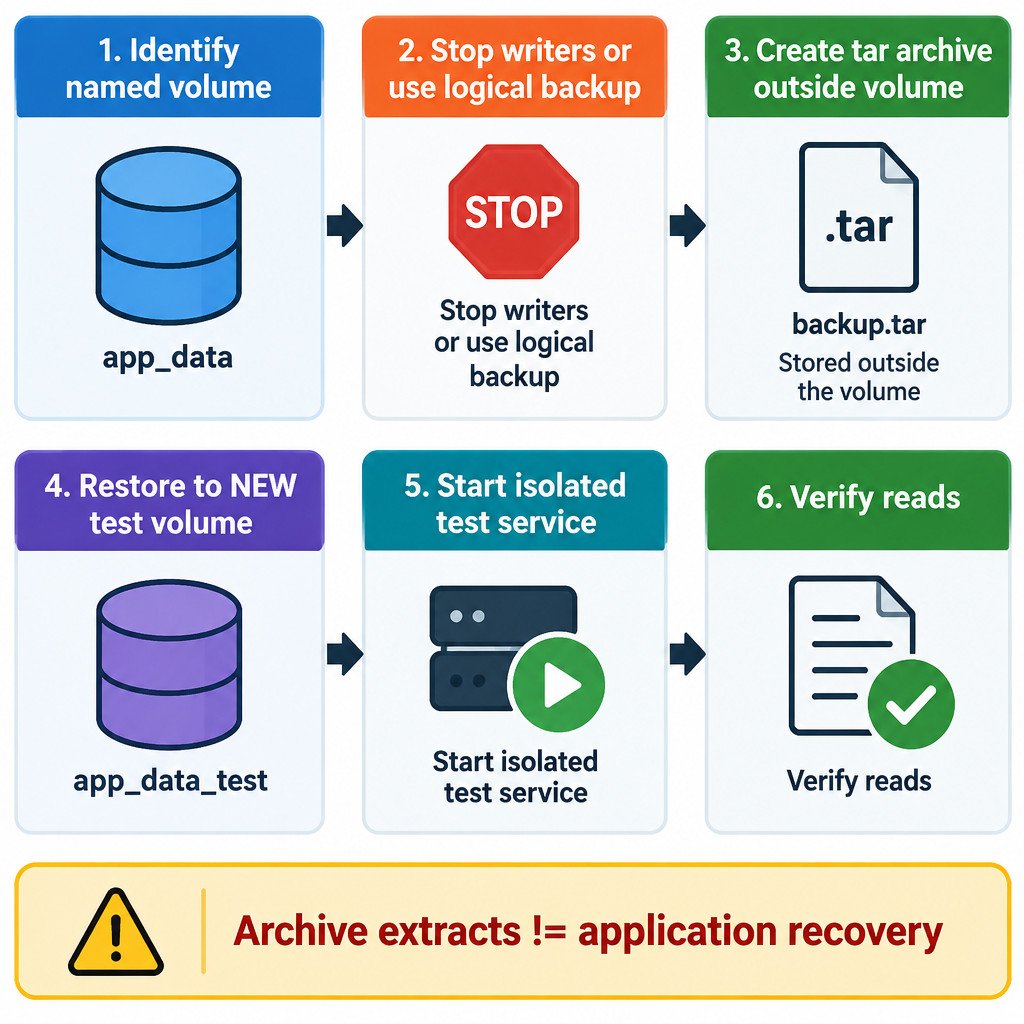
Create an archive outside the volume
Create a host folder that is not inside the volume being backed up. Then, after stopping relevant write-heavy services, run a temporary container that mounts both the source volume and the host backup folder:
mkdir -p docker-backups

docker run --rm \
  -v myproject_app_data:/data:ro \
  -v "${PWD}/docker-backups:/backup" \
  alpine:3.20 \
  tar -czf /backup/app-data.tar.gz -C /data .
This example is for a shell where ${PWD} expands to the current directory. On another shell, provide an equivalent absolute host path. Docker may pull the temporary Alpine image if it is not present locally.
| Part | Purpose |
|---|---|
--rm | Removes the temporary backup container after the command exits. |
-v myproject_app_data:/data:ro | Mounts the source named volume at /data; :ro prevents this backup container from writing to it. |
-v "${PWD}/docker-backups:/backup" | Mounts a host folder where the archive will remain after the container is gone. |
tar -czf ... -C /data . | Creates a gzip-compressed tar archive from the contents of /data, without embedding the host’s volume path. |
That archive may contain application data, credentials, tokens, or personal information. Store it with access controls and encryption appropriate to its contents. Keep the Compose file and separate secrets-handling documentation as recovery materials too; volume changes are not included when a container is committed to an image. Docker Docs: Docker Desktop backup and restore
Restore into a new volume, not the production volume
A restore test should not overwrite the data you are trying to protect. Create an empty test volume, extract the archive into it, and keep the original volume untouched:
docker volume create app_data_restore_test

docker run --rm \
  -v app_data_restore_test:/data \
  -v "${PWD}/docker-backups:/backup:ro" \
  alpine:3.20 \
  tar -xzf /backup/app-data.tar.gz -C /data
The archive mount is read-only during the restore because extraction needs to modify only the new volume. If your application depends on ownership or permissions, test with the actual application container rather than judging the restore solely by a directory listing. Avoid adding permission-changing flags merely to silence an error: understand which user the application runs as and why the expected ownership differs.
Attach the test volume and prove that the application works
Create a temporary Compose override or cloned service configuration that mounts app_data_restore_test at the same container path as production. Do not start it on the same host ports or against the same external services as production. For a database-backed application, point the test copy to a separately restored database or isolate it from write-capable integrations.
A useful restore test checks more than whether files exist. Start the test service and confirm it can read the expected data. For example, sign in with a non-production test account where appropriate, open a known record, retrieve an expected uploaded file, and inspect application logs for migration, permission, or corruption errors. For a database logical backup, run a basic query or the application’s health check after restoring it.
Label this distinction clearly in your notes: an archive that extracts is a successful extraction; an application that starts and reads the restored data is a recovery test. Neither result proves that a backup was application-consistent if the source was copied while writes were in progress.
Avoid Compose cleanup surprises
Named volumes usually survive a normal docker compose down, which removes the project’s containers and networks by default. The command changes meaning when --volumes is added: declared named volumes and attached anonymous volumes can be removed. External volumes are not removed by that option. Review a cleanup command before running it, especially in scripts. Docker Docs: docker compose down
Anonymous volumes are less convenient for planned recovery because their generated names are not part of the Compose design. Prefer explicitly declared named volumes for data that must survive routine container replacement. That does not replace backups; it simply makes the storage target visible and repeatable.
A compact backup and restore checklist
- Identify each persistent named volume and any bind-mounted host directory.
- Confirm the actual Engine volume name with
docker volume lsanddocker volume inspect. - Stop writers for a filesystem-level copy, or use the service’s supported logical backup method.
- Write archives to storage outside the source volume and protect them as sensitive data.
- Keep
compose.yaml, image references, environment and secrets recovery procedures separately from the archive. - Restore to a new volume first; do not use a recovery drill to overwrite production.
- Start an isolated test service and verify real reads, not just tar extraction.
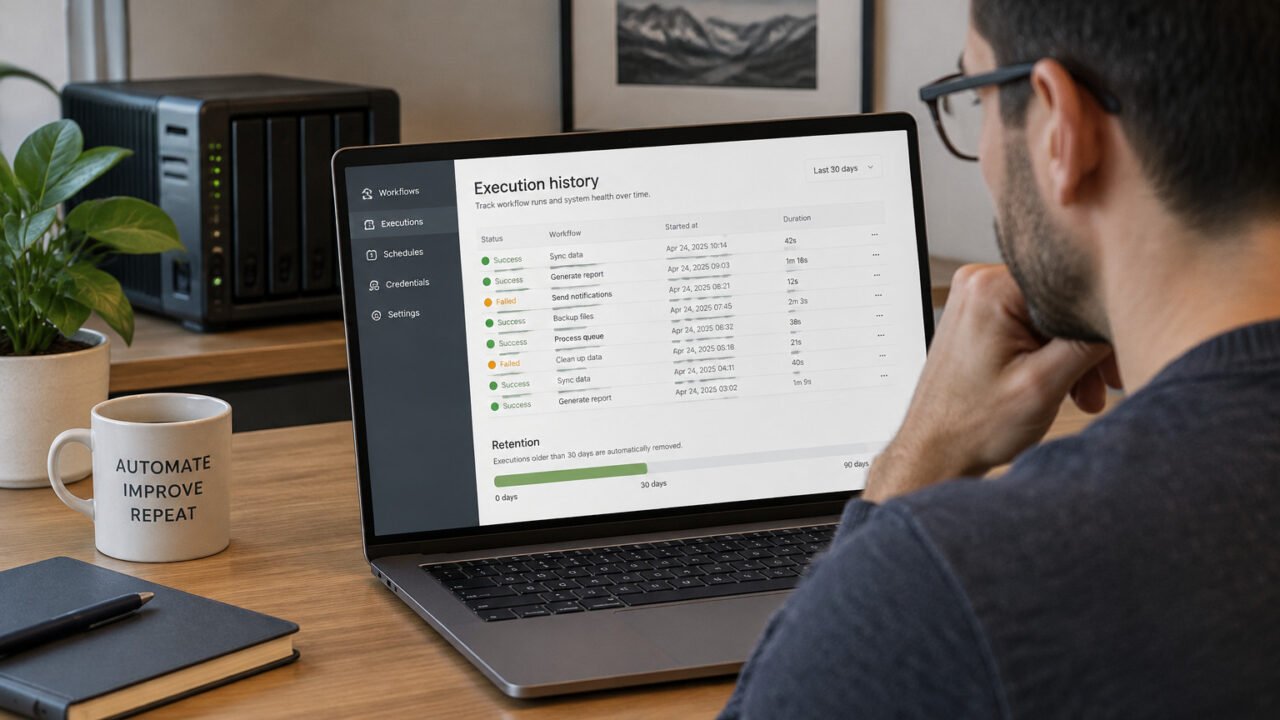
- Set retention and schedule restore drills. For example only, a small project might retain several dated archives and perform a monthly restore test; choose counts and timing based on data change rate, storage, and recovery needs.
Finally, record the exact commands, volume names, archive location, and database-specific steps that worked for your stack. Recovery is much less error-prone when these details are written down before an outage, rather than reconstructed under pressure.