MS Paint is a very easy and familiar app to quickly do basic image editing operations. But, it becomes a little bit more tricky to use it for some special tasks such as creating an image grid or photo collage.
But, don’t worry, you’re in the right place! Making a collage in Paint is easy and fun with this tutorial.
I’ll guide you through each step, breaking it down into simple, manageable parts. So, let’s see how it works.
Steps to Make a Collage in Paint

Step 1: Gather Your Images
Before we start, you’ll want to gather all the images you plan to use in your collage. These could be pictures you’ve taken, downloaded, or created yourself. It’s crucial to have them at your fingertips to streamline the process.
Be ready with already resized images to get faster and perfect results.
Step 2: Open Images in Separate Paint Instances
Now that you’ve collected your images, let’s open them in separate instances of Microsoft Paint. To do this, right-click on each image file, hover over ‘Open with,’ and select ‘Paint.’ This will ensure that each image is in its own Paint window, making it easier to copy and arrange them.
Quick Tip: To open multiple images at once, select them all, right-click, and choose ‘Open with Paint.’ Each image will then open in its own Paint window.
Step 3: Create a New Blank Canvas
With your images open, it’s time to create the canvas for your collage. Go to the ‘File’ menu in one of your Paint windows, select ‘New,’ and choose the desired canvas size. Make sure it’s large enough to accommodate all your images comfortably.
Step 4: Copy and Paste
Here’s where the magic begins. In each Paint window with an image, click on the image to select it. Then, use the keyboard shortcut ‘Ctrl + A’ to select the entire image and ‘Ctrl + C’ to copy it.
Switch to your blank canvas and press ‘Ctrl + V’ to paste the image. Don’t click anywhere else other wise image will get deselected and it will become part of the canvas.
Step 5: Resize and Relocate
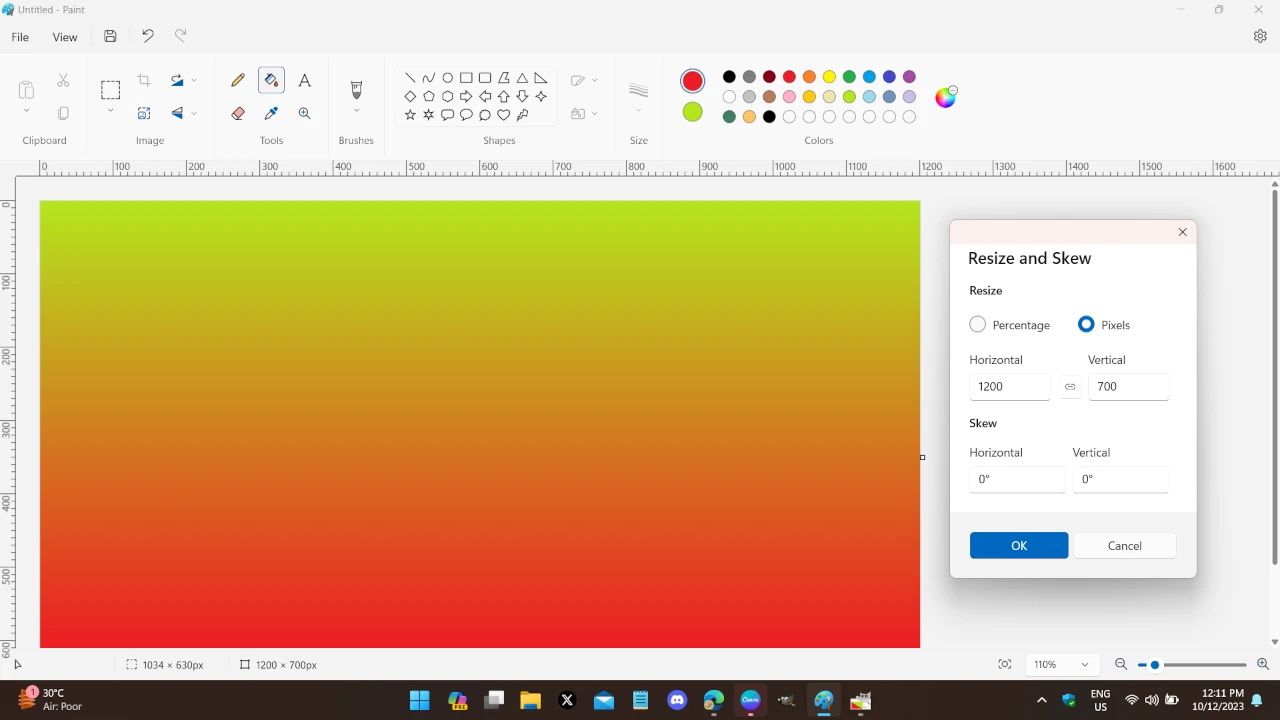
Now that your images are on the canvas, you can resize and relocate them to create the perfect collage. remember, in MS Paint you can resize recently pasted image until you have not unselected it by clicking somewhere else.
To move an image, simply click and drag it to the desired location on the canvas. You can overlap, align, or arrange the images in any way you like. Feel free to get creative and experiment with different layouts until you’re satisfied with the result.

Pro Tip: To maintain aspect ratio keep an eye on the status bar of the paint app. It shows changing resolutions and sizes.
Repeat Steps 4-5 in this process for all the images you want to include in your collage.
Step 6: Fine-Tuning and Adding Details
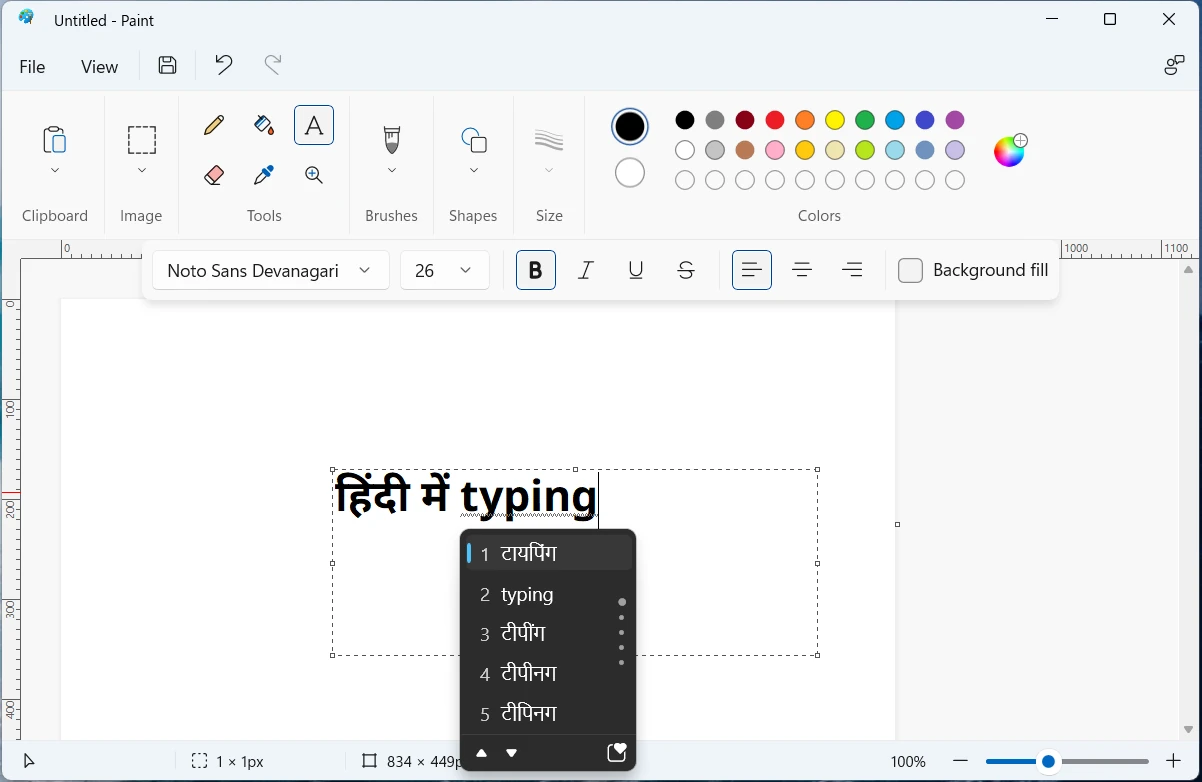
After arranging the images, you might want to fine-tune your collage. You can add text, draw shapes, or use the Paint tools to add creative details. Be sure to play around with different colors and styles to make your collage unique.
Step 7: Save Your Masterpiece
Once you’re satisfied with your college, it’s time to save it. Go to the ‘File’ menu and select ‘Save As.’ Choose a file format (JPEG is a commonly used format) and pick a location on your computer to save your collage.
Give it a meaningful name, and click ‘Save.’
Now that you have the knowledge, it’s time to put it into action. Open Paint, gather your images and start your collage-making journey. Don’t forget to enjoy the process and let your imagination run wild. Happy collaging!
???? Have you created a stunning collage using Paint?
Share your creations and tips in the comments below. Let’s inspire each other with our artistic talents! ????
